

SPECIAL NOTES


A FUSION FLAVOR FAVE
There was not a typo in the headline! “Fennilla” is my take-twist on a classic from-scratch vanilla pudding light as a cloud and tasty as a summer day that uses a little fennel pollen, vanilla bean, and a touch of orange zest for the American pudding with a little more, and, whoo-whee, the bonus is it’s gluten-free!
ORLEANS AVENUE
My pudding named for one of the best fusion jazz bands in the world today: Trombone Shorty & Orleans Avenue. Troy “Shorty” Andrews, aka Trombone Shorty and his band, Orleans Avenue, redefined the New Orleans sound by twisting the traditions of Jazz, Rock, Hip-Hop and the other sounds of the city into a harmonious whole that is a tasty treat for the ears and a some street beat for the feet! Touring the world to sold-out shows he’s featured guests like Lenny Kravitz, Jon Batiste (Late Show with Stephen Colbert), Brandi, and many more at concerts and on his albums. The band that surprises and delights is the perfect group to honor with a dessert that everyone assumes is going to roll old school, but takes off in its own direction!
American Pudding 101 & MY NEW SECRET WEAPONS
Puddings are not magic. They’re thickened milk, with sugar and flavorings in them. Not much mystery in the making. What makes them magic are the flavors. Flavors, like a high quality fennel pollen, vanilla, vanilla bean powder, and a touch of orange zest are better than just adding fats, more cream in this case, as a happy. They make you smile, without making your waist line expand.
Puddings are pretty easy to create perfectly, and give a richer in mouth feel IF:
- You use a thermometer
- You don’t overcook them
- You use a little chemistry to give them a lighter structure
- You DO NOT thicken them with cornstarch or wheat flour.
How they thicken is what separates the bland box powders and chemicals that imitate pudding from the wonderful wow.
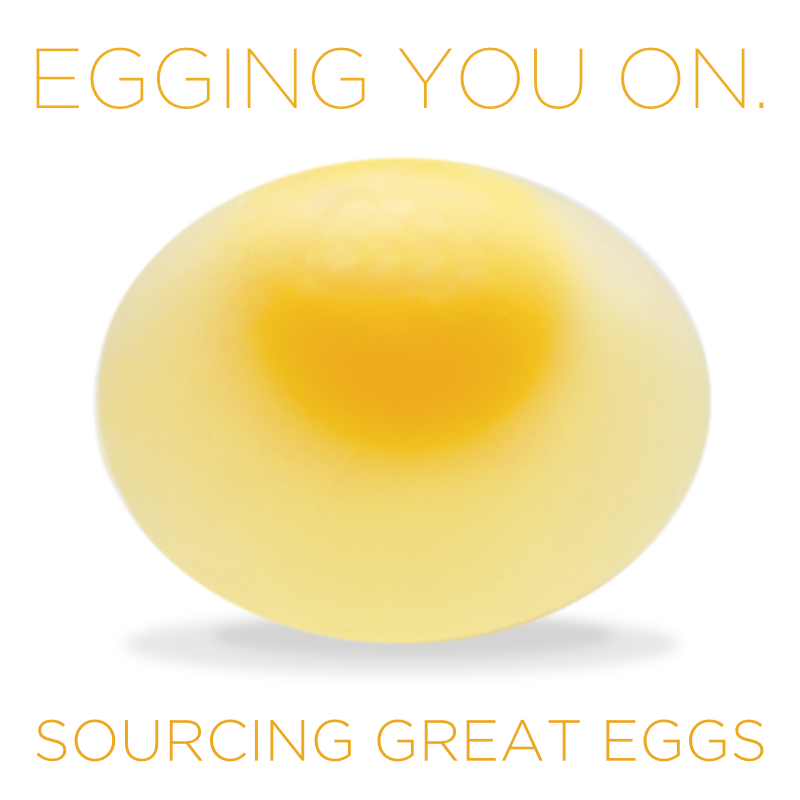
THE INCREDIBLE EGG
The incredible egg! It’s rich! It’s strong! It binds and lifts!
As we’ve talked about with perfect eggs, the proteins in both whites and yolks bind together with our temperature mantra:
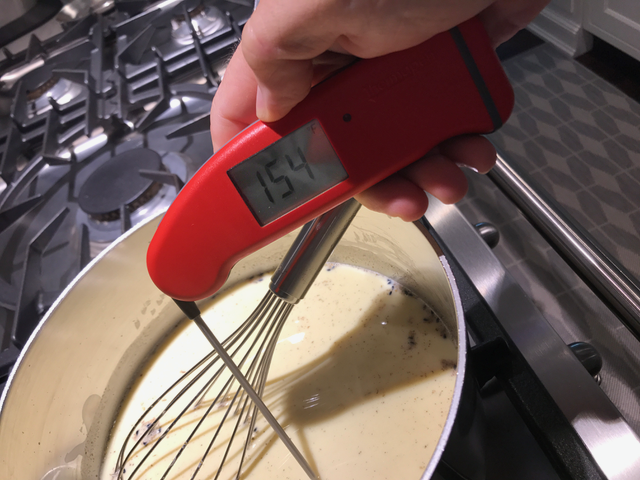
68/154 gives your eggs a little more.
We’re taught to cook by visual cues. If it’s boiling, it must be ready. It won’t kill you, but it kills the protein structures in the food, which we make up for by adding extra starches to go back and fix.
Science and a good digital thermometer helps us. Yolks are 50% water. So, as Hervé This points out in his groundbreaking book Molecular Gastronomy, 68°C or 154°F is where the water in the egg cooks out with enough time for the proteins to build and bind to make them light and wonderful. We can let it get a bit hotter, but if we want to maintain that light consistency, we have to avoid destroying them.
That presents us with a challenge:
The PERFECT Pudding Paradox
Boiling and baking is BAD. It breaks down the structure of the egg in most traditional recipes, and then most recipes add too much wheat and/or corn starch to correct the problem, which flattens pudding and turns it into sticky goo.
The ideal temperature to create puddings without textures like rice or tapioca is 180°-182°F/82°-83°c, about 18°F/10°c more than where our “binder” eggs, do their best work. How to fix that?
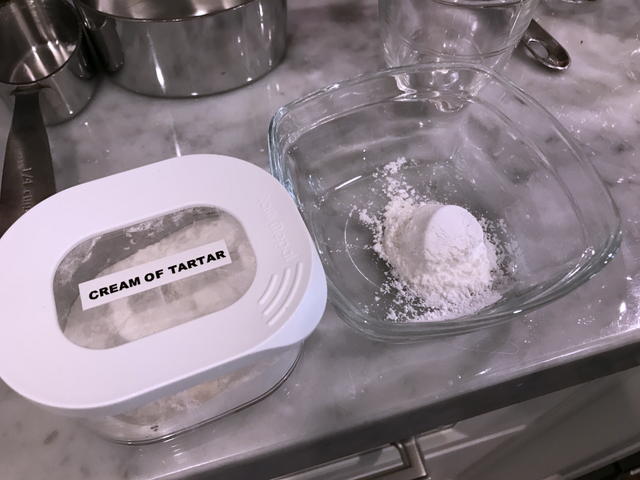
Meet Cream of Tartar (CofT). Yes, that jar of white stuff mocking you from your pantry!
You bought it for that scone or other recipe that called for it, but you really have no idea what it does. Truth!
Cream of tartar is an acid that strengthens proteins in eggs and milk, among other things, helping them solidify better at higher temperatures, without becoming rubbery or tough, and without the vinegar taste. Read my piece on it, It’s about to rock your world here by making one of the most delicate and flavorful puddings that will come out of your pots!
We put in the CofT after the egg yolks at 68°C or 154°F to help them as they build and bind in our low-heat cook that gradually moves up to perfect.
The PUDDING PLOT IS THICKENING
Once we have integrated the milk and egg, sugar and spice into this rich, wonderful whole, we aren’t making a smoothie. We need a thickener.
Most pudding recipes call for flour or cornstarch, unless you’re from Asia, or parts of South America where locating either is a bit trickier. A substitution that I discovered in Bali, Indonesia, years ago, works much better: Rice flour. It’s fine, delicate, neutral in taste, doesn’t get a gooey as corn starch and it’s gluten-free!
That gets us to good. What gets us to perfect is a bit of xanthan/guar gum, a natural thickener that avoids using too much of the rice flour.
THE FLAVOR FAVE OF FENNILLA’S A RAVE!
The base in this pudding can be riffed on almost endlessly by changing up what’s in it. Here though, I find that the fusion of fennel pollen with Tahitian vanilla, which is a bit more fruity than the Madagascar, and a touch of orange zest on the back-end for a little fresh finish, elevates the classic to a new A-Game!
BETTER SUGARS ARE BETTER FOR YOU
Most boxed foods are full of really toxic sugars like High Fructose Corn Syrup or use “diet” or “zero cal” fake sugars, including Stevia, that trick your tongue into a sweet happy only to have your pancreas crank out more sugar receptors, which is why you just don’t lose weight on diet sweets. Dextrose, in the glucose family, is closer to your body’s natural blood sugar. Read more here about how it works, and see if it’s right for your daily use. I put in a little finely ground caster sugar as a supporting sweet, but you can reduce it or omit it as you see fit.
LACTOSE-FREE SUBSTITUTIONS
 If you use Fairlife whole milk, the only lactose-free milk that I’ve used that isn’t disgusting, and Organic Valley‘s lactose-free half & half instead of the cream, you still get amazing results.
Serves: 6
PREP & COOK TIME: 15 – 20 Minutes
THE STUFF
- 500 ml / 2 cups Stonyfield Organic Whole Milk
- 125 ml / 1/2 cup heavy cream
- 3 egg yolks, Vital Farms or similar
- 115g / 1/2 cup dextrose
- 55g / 1/4 cup caster sugar (Can sub organic sugar)
- 1 tsp Beanilla Double-Fold Tahitian Vanilla extract* (*If using single fold, 2 tsp.)
- 5 g. / 1 tsp. Beanilla ground Tahitian vanilla bean
- 2.5g. / 1/2 tsp. fennel pollen
- 5 g. / 1 tsp. fresh orange zest, chopped fine or 1/2 tsp dried orange peel
- 1/2 tsp. Himalayan pink salt
- 5 g. / 1 tsp. cream of tartar
- 28 g. / 2 tbsp. Bob’s Red Mill rice flour
- 1.25 g. / 1/4 tsp Bob’s Red Mill guar gum (xanthan gum) powder
- 1 tsp water
- Water (for rice flour)
MISE EN PLACE
- 1 Quart / 14 cm Saucepan
- Balloon whisk
- Silicon spatula
- Orange zester
- 4 Mini prep glass bowls
- Thermapen or digital thermometer
- Ozeri Digital Scale and one wet and one dry ingredients work bowl
(Zero/Tare weight of each bowl before weighing) OR…- .5 Liter / 2 Cup measuring cup
- 1/2 cup dry measure
- Measuring spoon set
- 6 small pudding cups or a large container
- Small tasting spoons for stirring and a couple for taste checks.
- Medium size (60 ml / 2 oz) ladle
THE HOW-TOS
- Get your ingredients and gear in place.
- Zest the orange peel into a work bowl. Chop with a small paring knife if necessary to break up long strands. Set aside.
- Measure the rice flour into a mini glass prep bowl. Set aside.
- Measure the cream of tartar and put into a mini glass prep bowl. Set aside.
- Measure the guar (xanthan) gum powder into a mini prep bowl. Set aside.
- Measure the milk and cream. Add the vanilla extract.
- Separate your egg yolks into a mini glass prep bowl. Set aside.
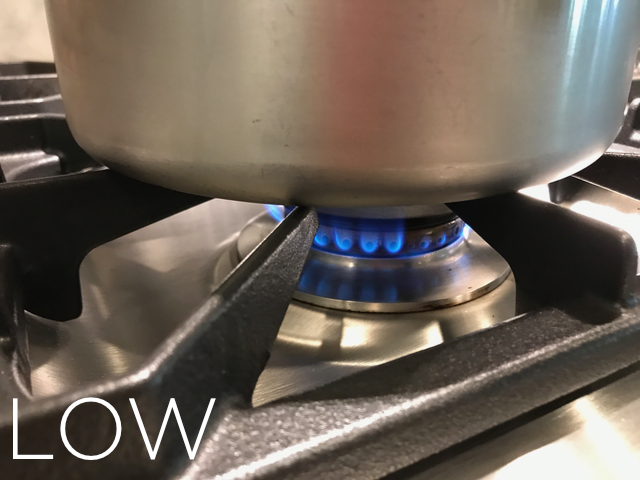
(Reserve the whites by cracking the egg over a storage container to use for another recipe or a nice omelette another day.) - Put the saucepan on the stovetop, and set to low (gas) med/low (Electric 2-3). Don’t rush the heat! We’re not bringing this pudding to a boil. Rather, we are working “under the radar” and taking it slowly up to180°-182°F/76°-78°c to give the yolks’ protein structures time to build a lighter pudding;
- Add the milk, cream, vanilla extract, and your dry ingredients work bowl. (Everything EXCEPT the egg yolks, cream of tartar, and rice flour).
- Whisk together. Your vanilla bean powder will float a bit even after whisking. This isn’t unusual.
- When the ingredients reach 68°c/154°F, whisk in the egg mixture with the spatula. Scrape out the container with the raw egg yolk for any leftover with the spatula. Whisk in.
- Take the cream of tartar and grabbing pinches with your fingers, sprinkle it over the top of pudding. Whisk in.
- Whisk periodically, scraping the bottom so it does not burn. As the temperature rises, it will begin to thicken 5-8 minutes on gas, a bit longer for electric.
- When the thermometer in the liquid in the saucepan hits 80°C / 176°F, pick up your rice flour in the mini prep bowl. Add water (about 30ml / 2 tbsp.) and stir with a small spoon until there are no lumps and the liquid is like a milk, not wallpaper paste.
- When the temp reaches 180°-182°F/76°-78°c and is thickening up nicely, add the rice flour mixture. Stir.
- The mix will thicken a bit more in 1-3 minutes, approximately. Some may be a bit longer.
- Last, using your fingers and the whisk, pinch the guar gum and sprinkle lightly over the top as you stir with the other hand. This will put the final thickening on. DO NOT drop it straight in.
- When it is thickened, it will look like this. Take off the heat.
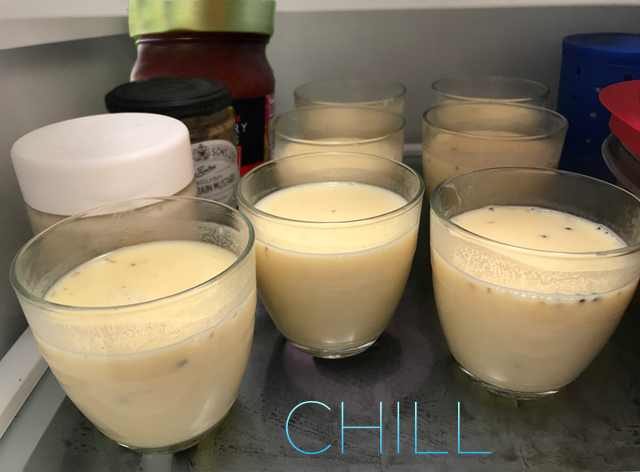
- Ladle into the small serving cups or a larger container.
- Pinch just a small touch of fennel pollen on the top for color. DO NOT OVERDO. Put in the refrigerator to set for at at least two hours or until fully chilled. Cover with plastic wrap after fully chilled, or serve.


