BakingBest PracticesBreakfast FoodsCulinary ScienceCulinary TheoryDruryLane™ CollectionEggsFloursFoods EducationHow-TosMuffinsNorth AmericaOilsServes 11-12SugarsThe Jazz ChefTheory & Practice
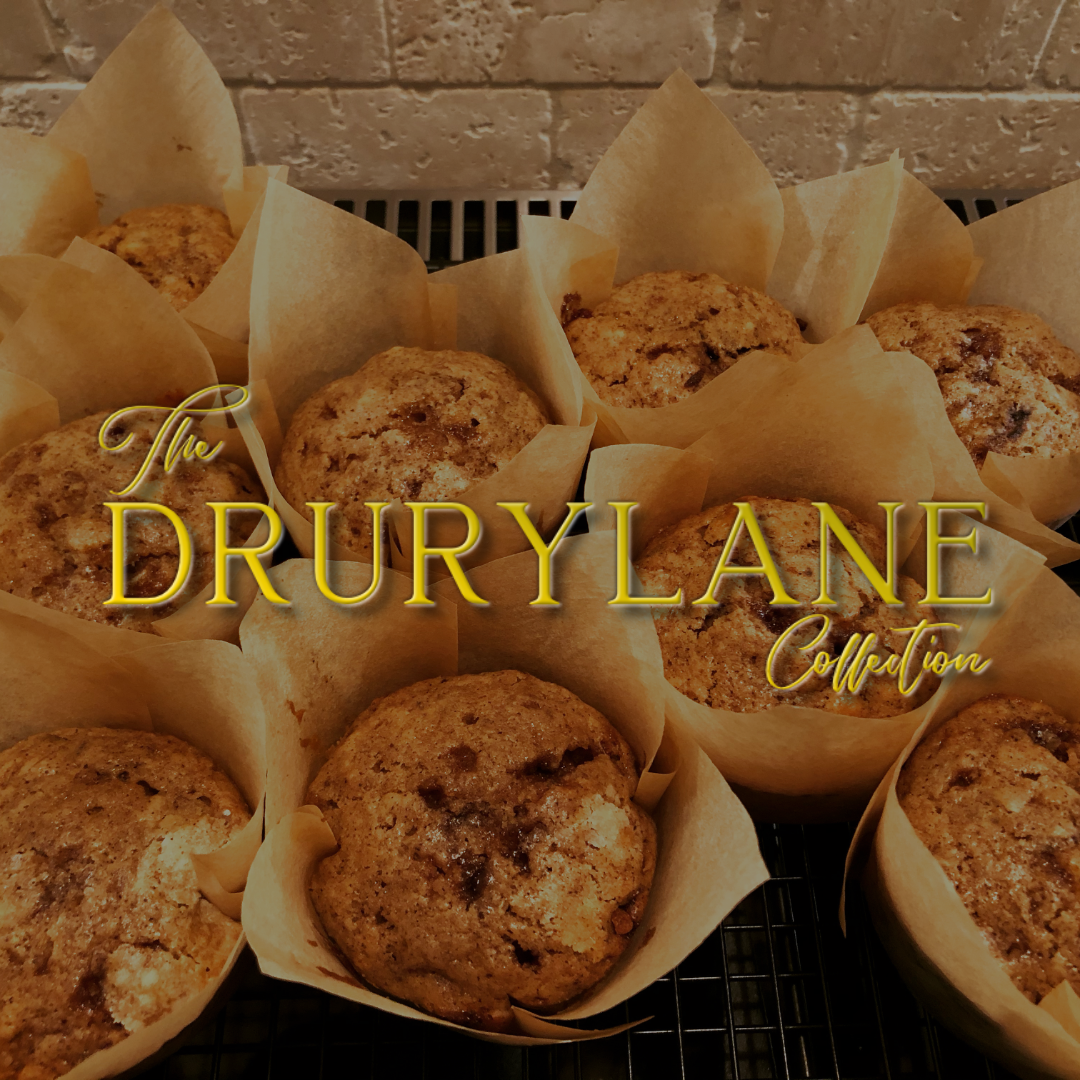
Drury Lane Muffin Collection
What’s the “DruryLane™” secret to great muffins? Find out, in this introduction to a suite of recipes sure to bring your baking to A+ game!


