Keyqueso Melts – The JazzChef Homerun™ Series
KEYQUESO MELTS Serves: 1 Prep Time: < 5 min. A Six Minute Trip FROM MAINE TO KEY WEST VIA KANSAS There are a lot of easy home runs for breakfast that don't take a lot of work. You can improvise...
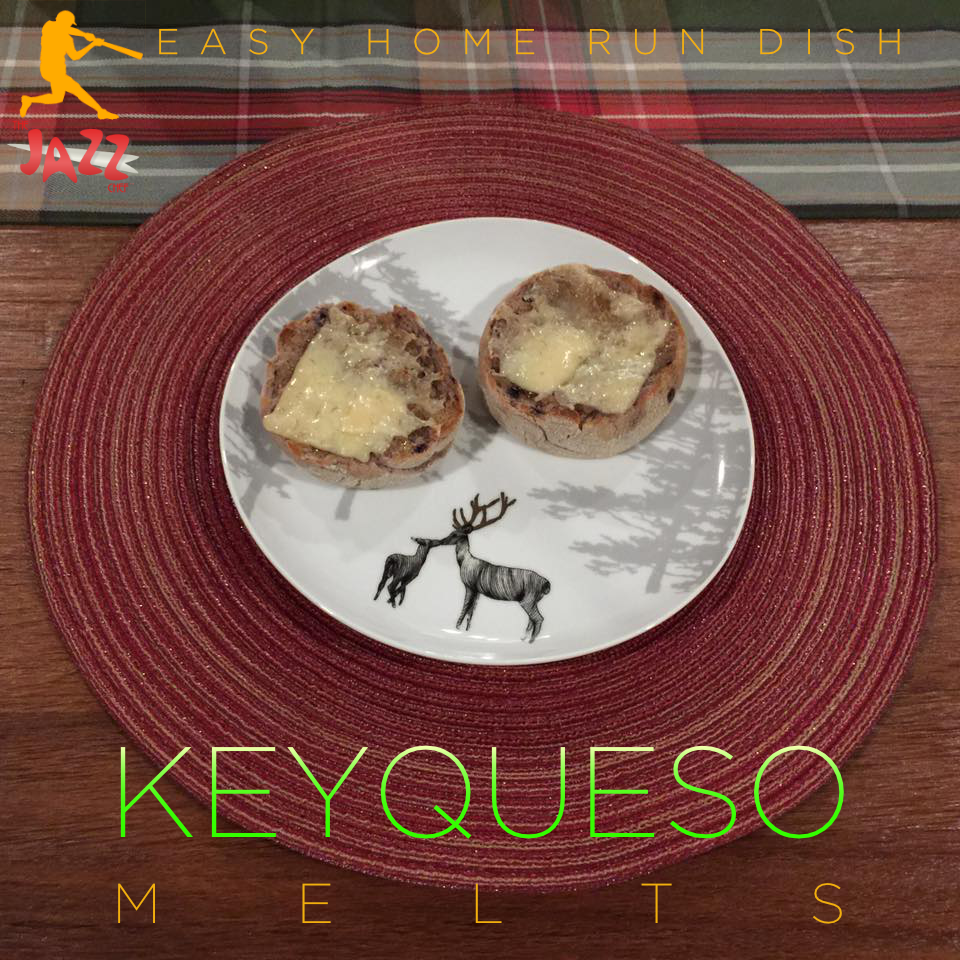
KEYQUESO MELTS Serves: 1 Prep Time: < 5 min. A Six Minute Trip FROM MAINE TO KEY WEST VIA KANSAS There are a lot of easy home runs for breakfast that don't take a lot of work. You can improvise...

My confession: You know. You "experiment" in college. I used to be ashamed of it, but I can say it now: I love puréed soups! French cuisine's powerful, simple heart of darkness. Beguilingly simple, flavorful, healthy... soup. Club Med La...

Why would I call this riff on my house popcorn a bribe (baksheesh)? Everyone who cooks for a family knows that there are a few things that will win over that person stuck doing chores or honey-dos that aren't always 'fun.' The...
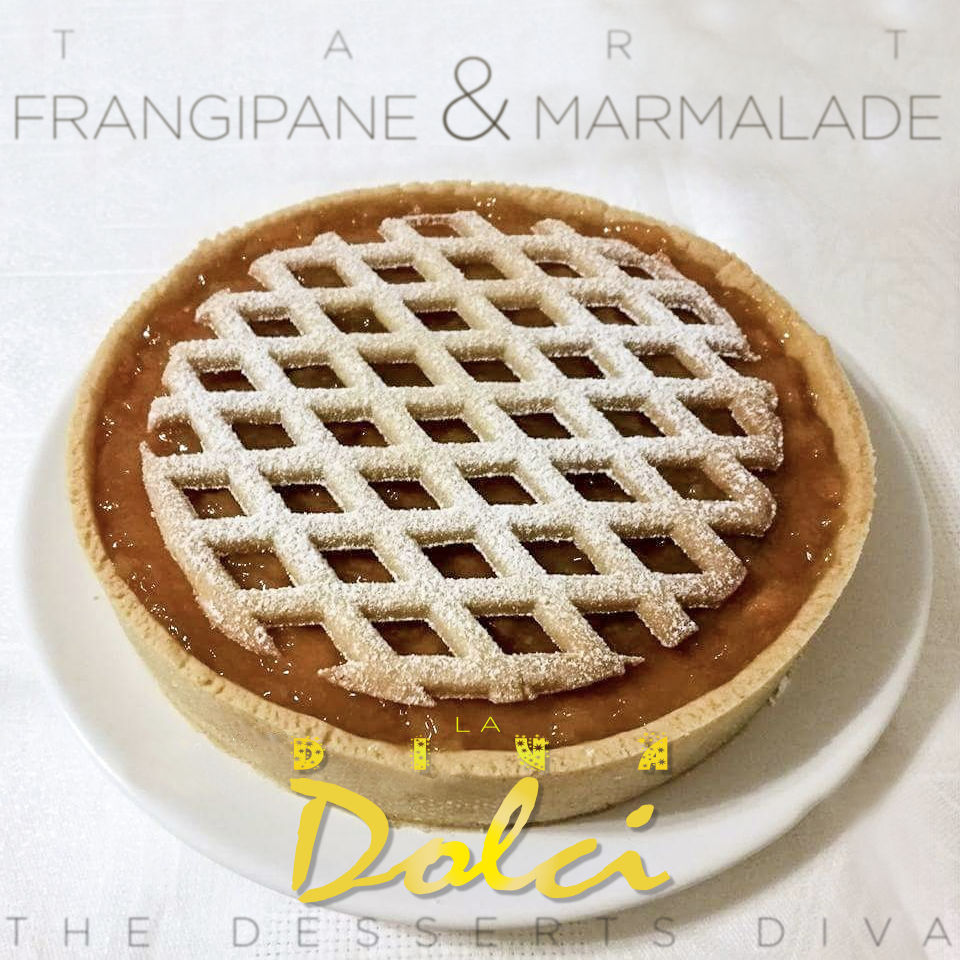
Frangipane and Marmalade Tart (Dairy Free) La Diva dei Dolci The Desserts Diva A commercial tart commonly sold in Italian supermarkets. Italians love their tarts! Tarts, especially those with jam, are a staple of Italian breakfasts and snacks. It is very easy...

There are crumpet people and there are English muffin people. I count myself amongst the crumpet-crazy! I like the more defined holes that hide all of the bad-for-you-goodness of butter, and jam. It's also a texture thing. English muffins are a bit...
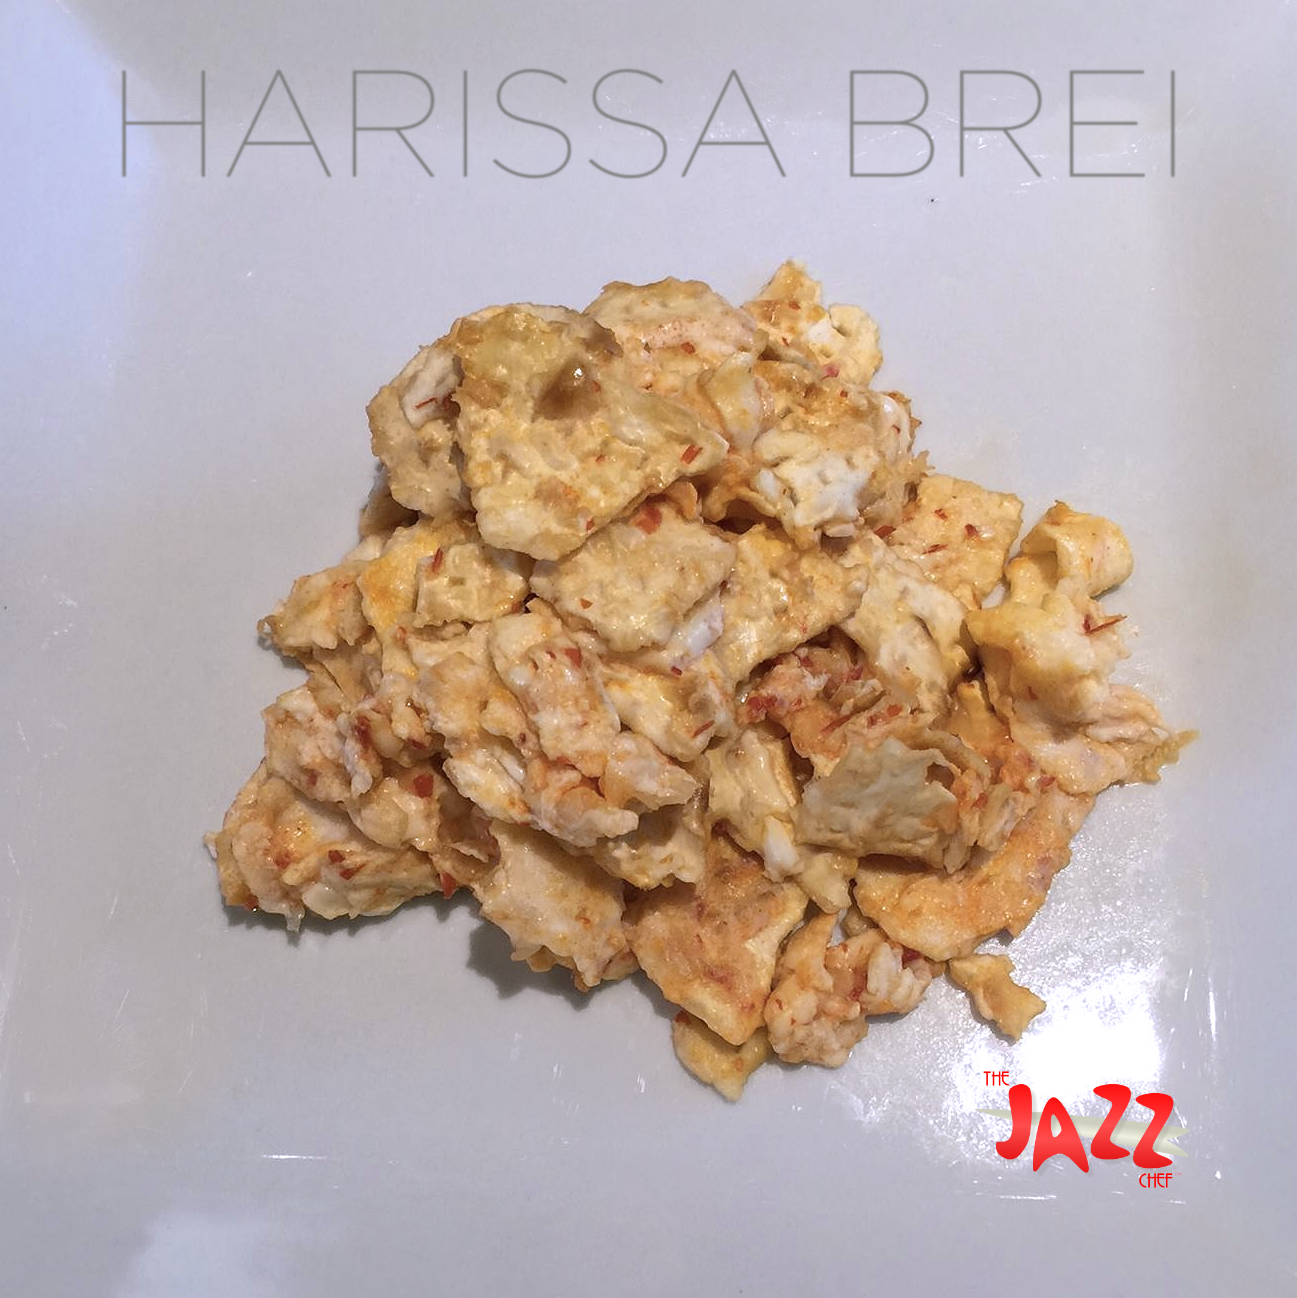
Vegetarian-Friendly A little Semitic synthesis brings brei, broken bits of Jewish matzoh, soaked in eggs and scrambled or pancaked, with harissa, the ketchup of the Middle East and North Africa, in a quick and easy dish that you can whip...

Sun Ra was one of the most skilled and "out there" World Jazz synthesizer/pianists and bandleaders. He was also a vegetarian. To honor his complexity, we take the vegetarian dog of your choice up to a new level. Makes one...
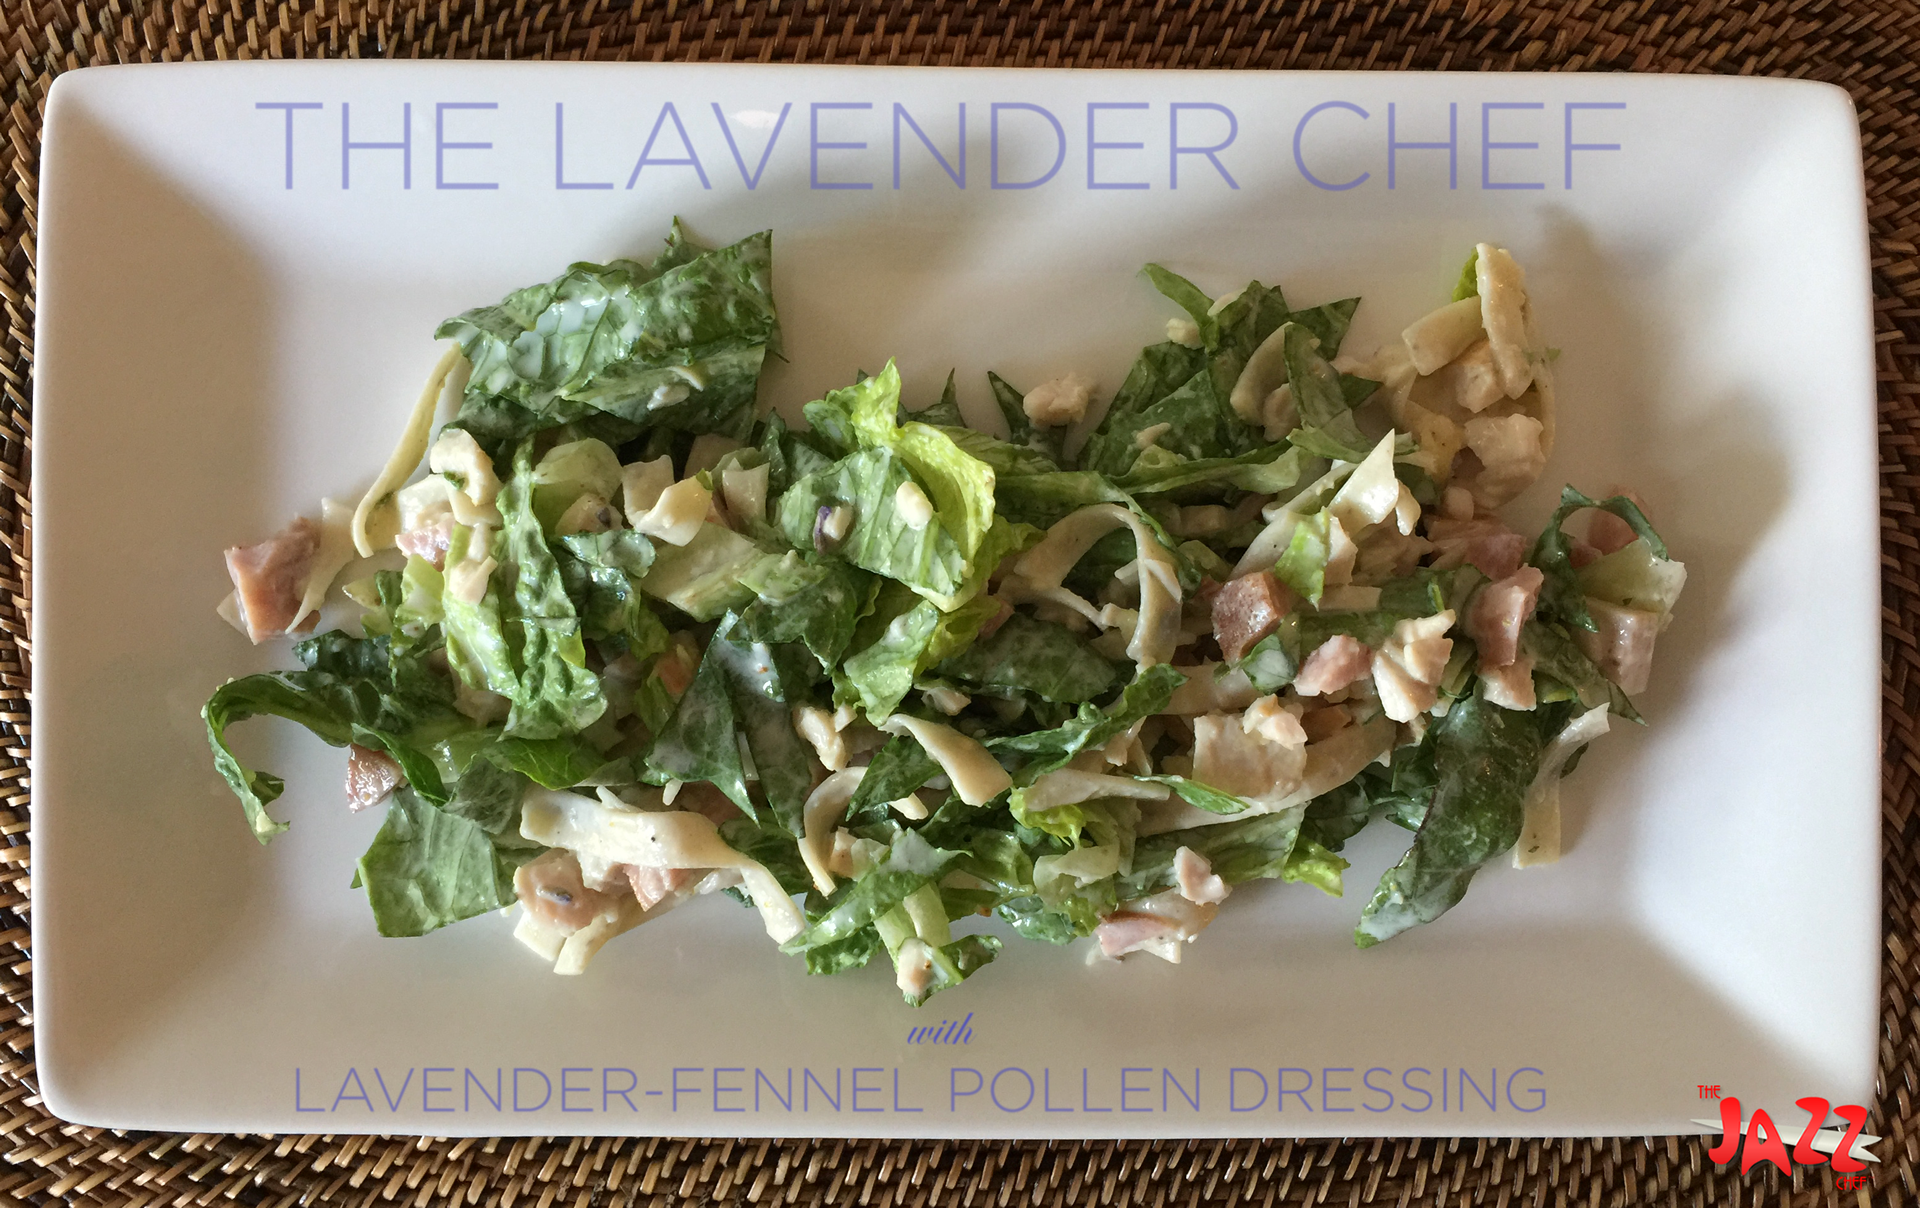
A lot of improvisational riffs revolve around repurposed food. I made some wonderful lavender pasta a couple of nights back. I have enough extra that it makes a nice lunch... something. What, though? It doesn't reheat really well, and...
